 |
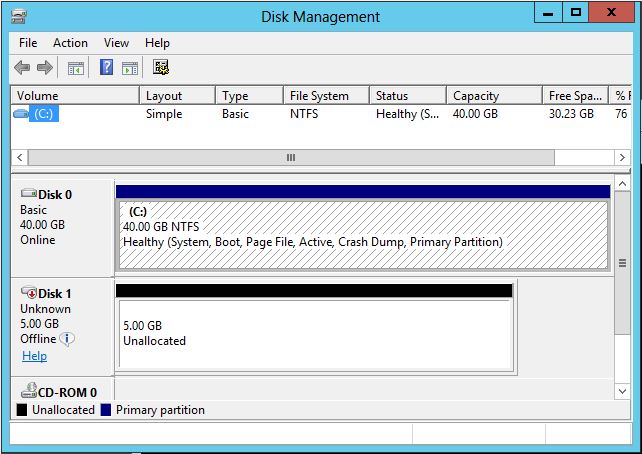
Open DISKMGMT.MSC from one of the prospective cluster nodes. You will see the shared disk displayed as Unknown, Offline, and Unallocated. |
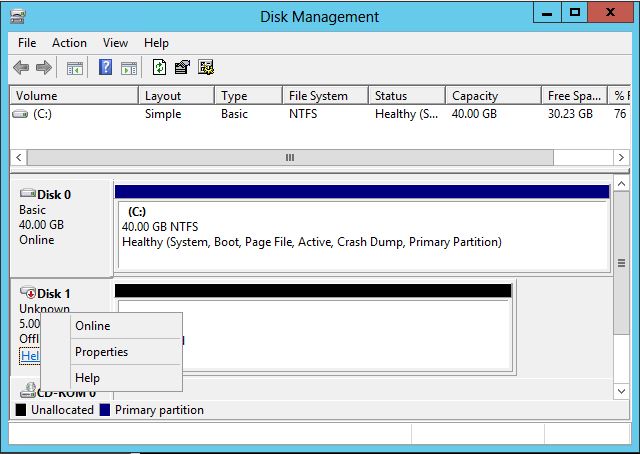 |
Bring the disk online by right clicking in the area to the left of the disk representation and selecting Online from the context menu. |
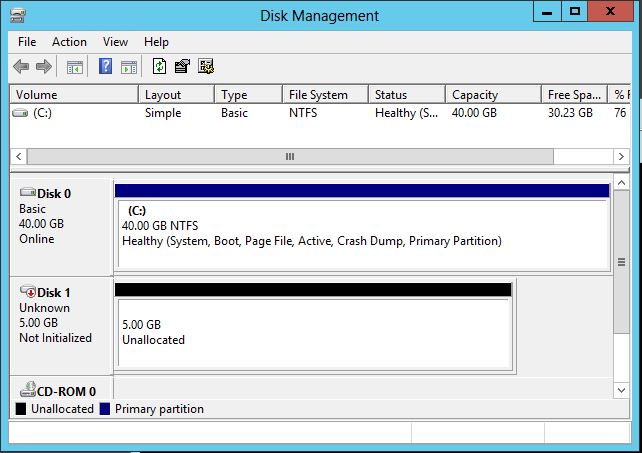 |
The disk now shows up as Unknown, Not Initialized, and Unallocated. |
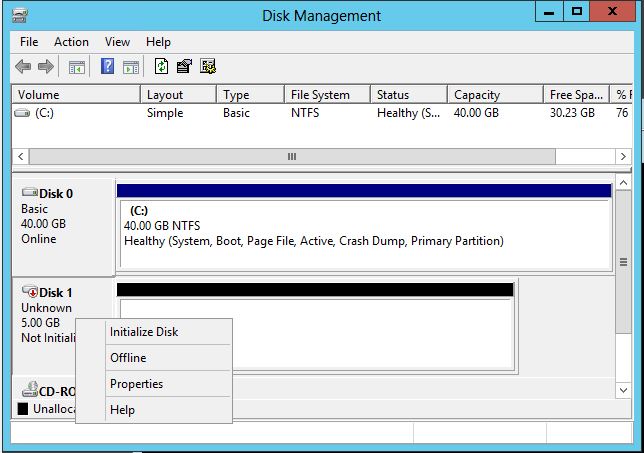 |
Right click on the disk representation and select Initialize Disk from the context menu. |
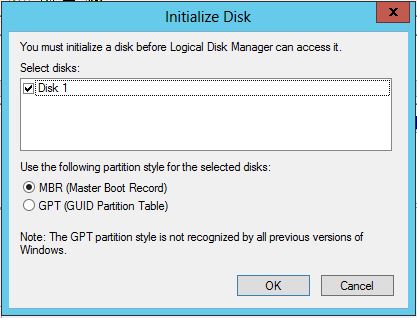 |
Select the disk(s) to initialize, select the partition style, and click OK.Important Note: The MBR style will not allocate the full size of partitions exceeding 2TB. If you have a partition greater than 2TB in size you must use the GPT partition style to use the entire partition size. If you use MBR on a partition greater than 2TB the partitioning will complete and you will not receive any error message, but you will only be able to access 2TB of the partition size. The rest will remain inaccessible. |
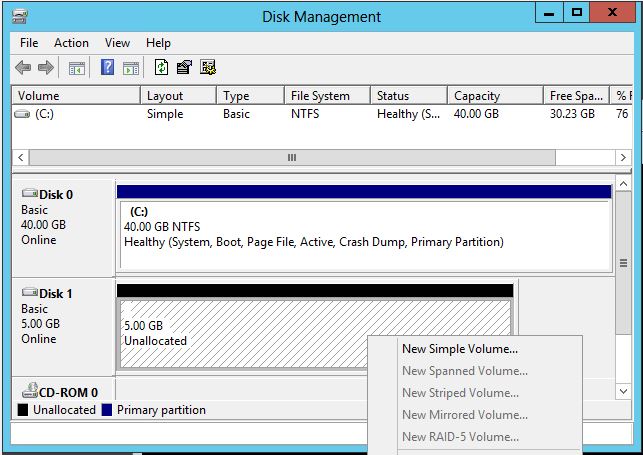 |
Next create a volume and format it. In this example we are using a simple volume. This is basic windows which we probably all know, but I have the screenshots, so we'll just run through the process. Right click on the disk representation and select New Simple Volume… from the context menu. |
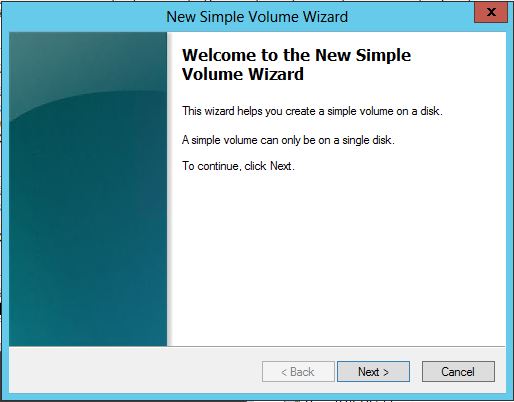 |
Click Next at the Welcome Screen |
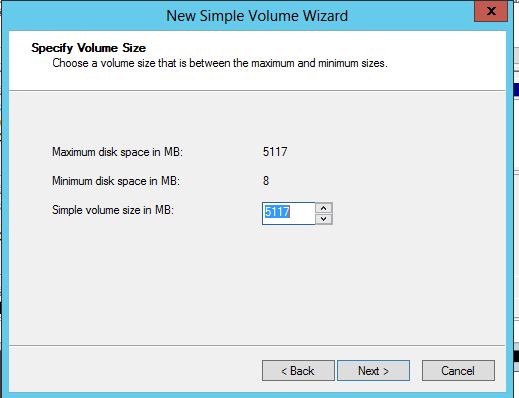 |
Click Next to accept the default maximum size. |
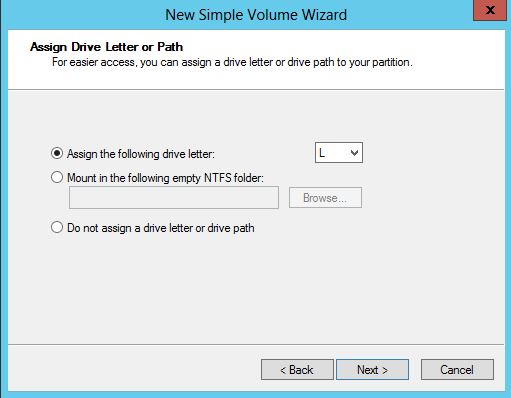 |
Assign the desired drive letter by choosing it from the dropdown box. In this example we are using L. Click Next to continue. |
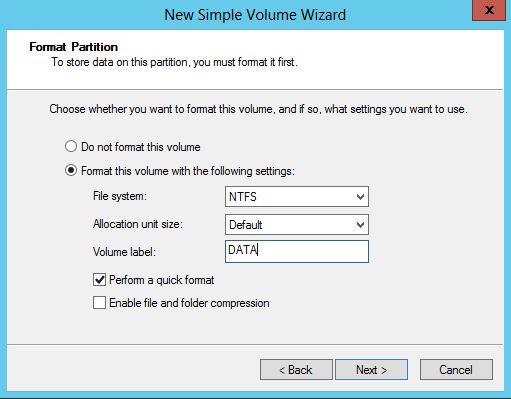 |
Format the volume as NTFS and provide a volume label as desired. It is a good practice to provide a descriptive label, which we will see further on in the process. You can do a Quick Format or a Full Format as desired. A full format takes a longer amount of time to complete but is more detailed and marks any bad blocks on the disk, preventing them from being used during normal operations of the system. Click Next to continue. |
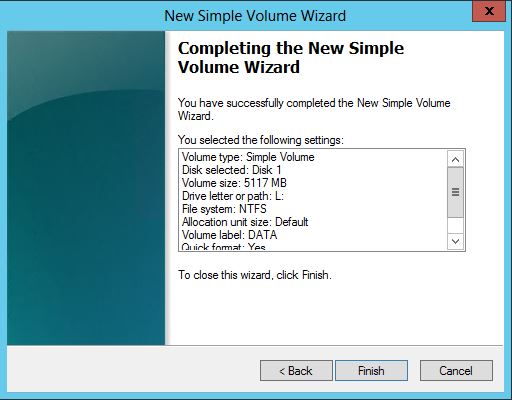 |
Click Finish to complete the creation of the volume. |
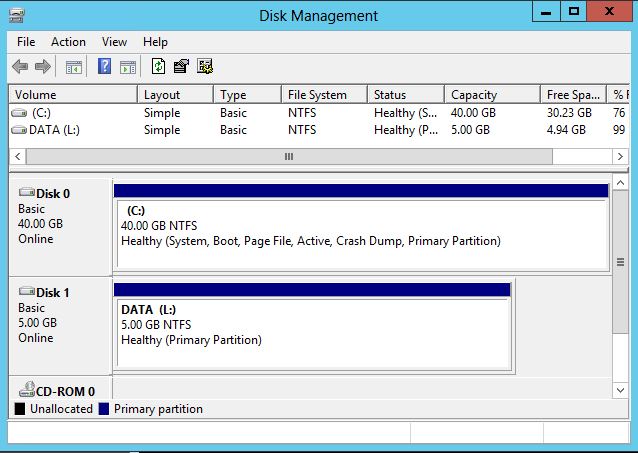 |
When the disk(s) are configured you will see it/them in Disk Management as you would see any other disk. In our example you see the L: drive. You will most likely have multiple disks, so you would repeat the process for initializing and formatting all of the partitions you want shared between your cluster nodes. |
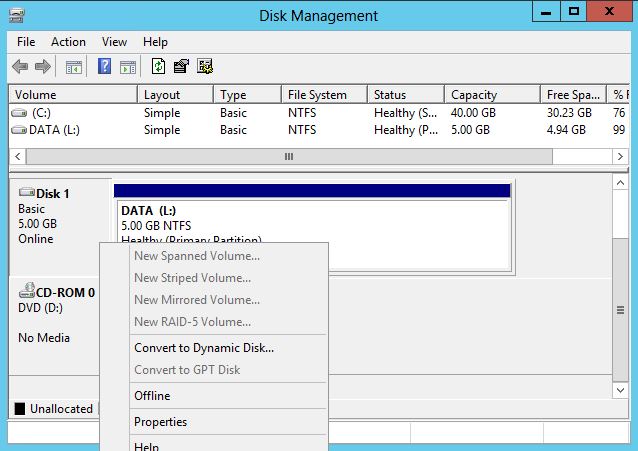 |
Once the disks are configured on the first node, take them offline. Right click the area to the left of the disk representation and select Offline from the context menu. this may seem odd, but shortly we will be bringing this disk up on the other cluster node and if both hosts have simultaneous access to the disk there will be conflicts and both nodes will not pass cluster validation tests, preventing the initial creation of the cluster. |
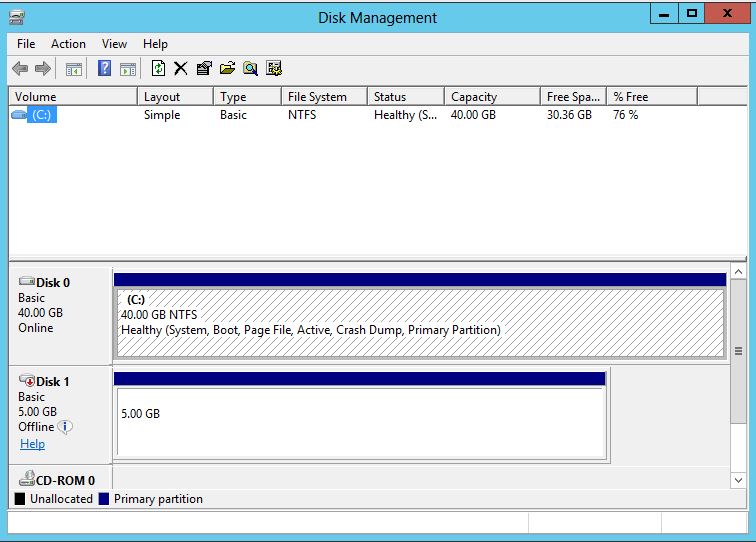 |
On the second cluster node candidate open DISKMGMT.MSC |
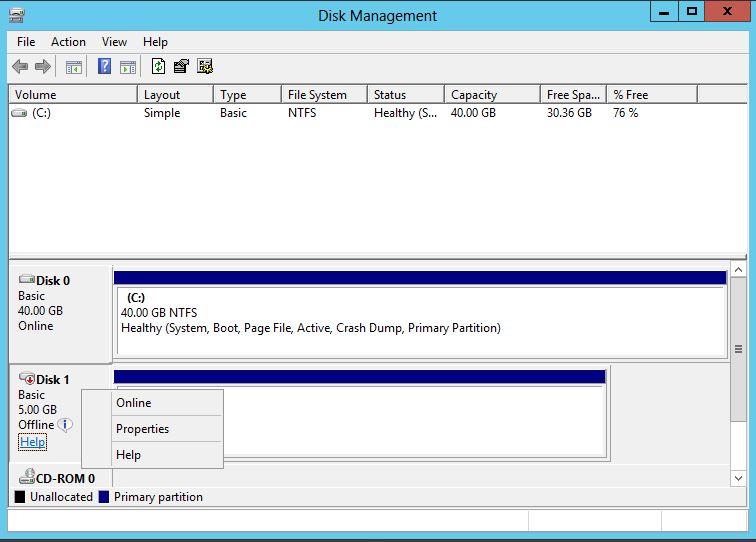 |
Bring the disks online as you did with the first node by right clicking the area to the left of the disk representation and selecting Online from the context menu. |
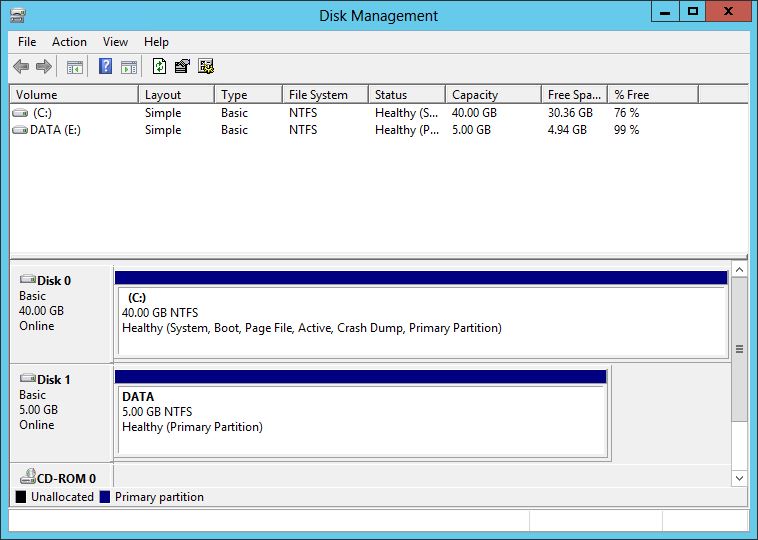 |
The disk(s) appear, formatted but with a missing drive letter. |
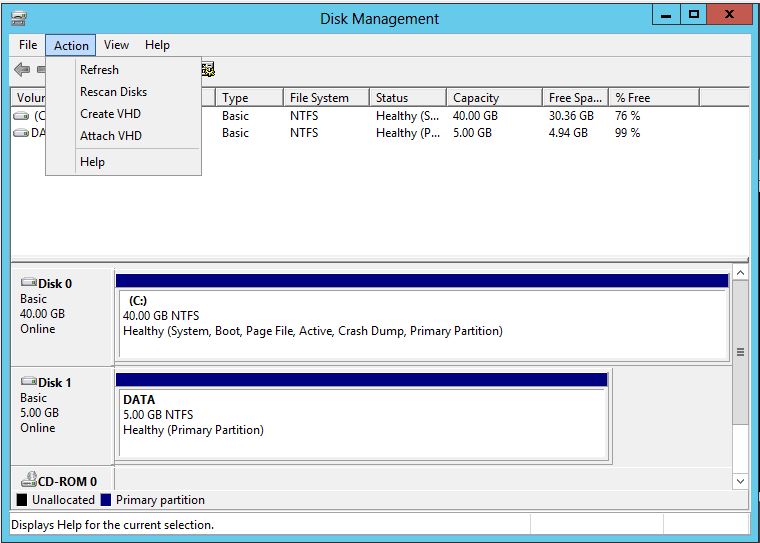 |
Select Rescan Disks from the Action menu as shown. |
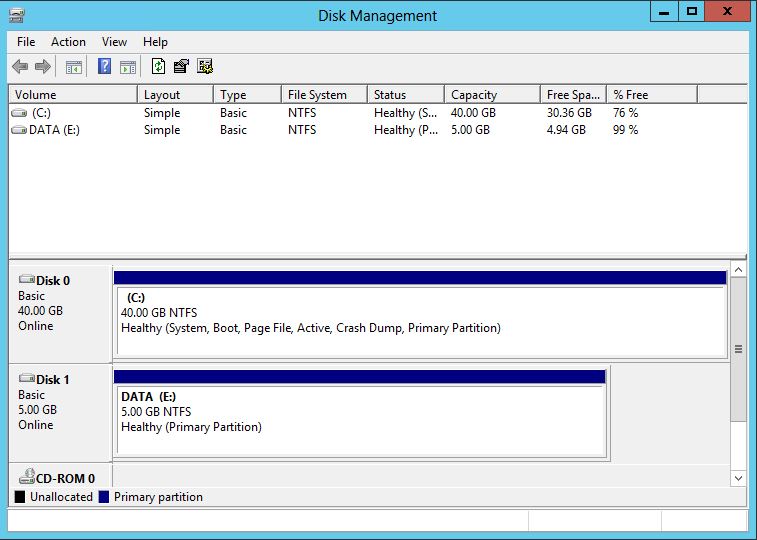 |
The disk(s) now appear with (a) drive letter(s), but they will be different from the ones you configured on the first node. They need to match. |
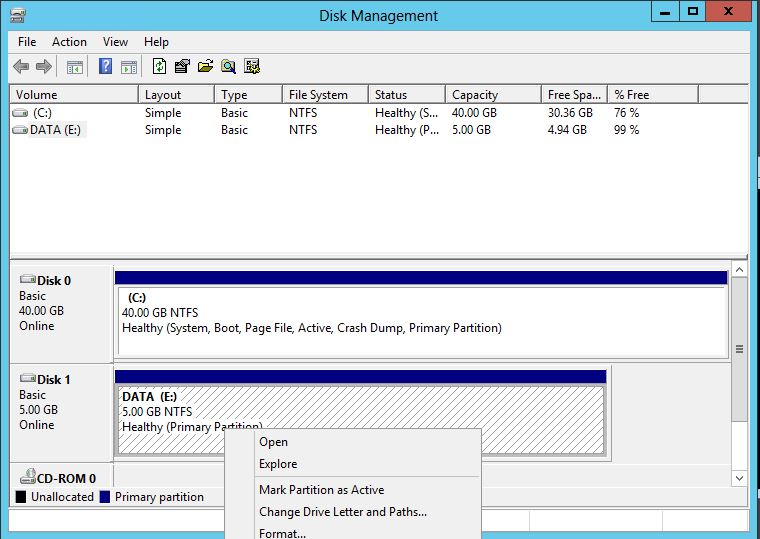 |
Right click each disk representation and select Change Drive Letter and Paths… from the context menu. |
 |
Click the drive icon and click Change. |
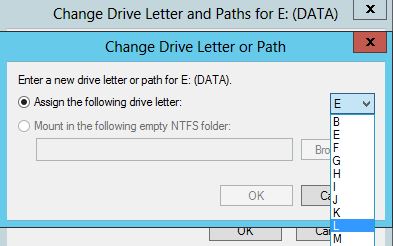 |
Change the drive letter for the partition to match what you had configured on the first node by selecting it from the dropdown box. This is where you will realize the importance of clearly labeling your partitions. Such a practice will keep you from becoming confused when you are working with multiple partitions, especially if you have more than one with the same size. Click OK when you are done. |
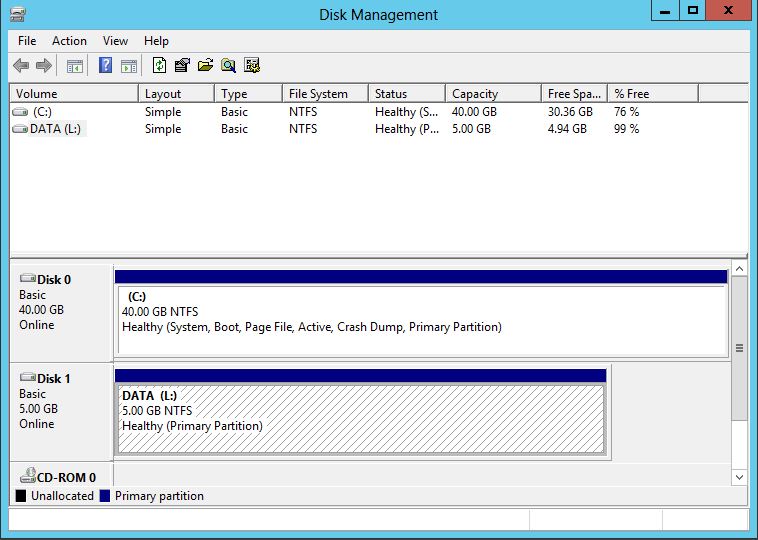 |
Now the second node will have drive letters that match the ones on the first node. |


